
How to Layer a Junk Journal Pocket
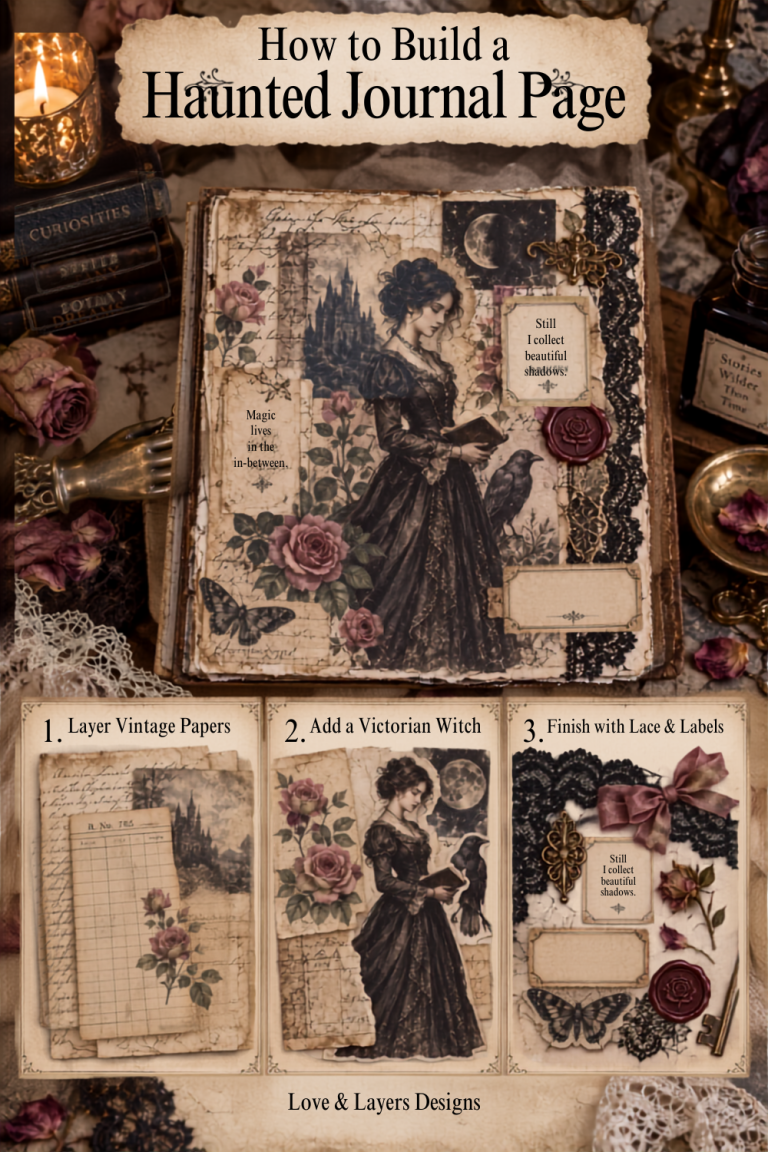
There is something wonderfully mysterious about opening a journal and discovering a pocket filled with aged tickets, forgotten messages, and tiny treasures. In this easy project, I’ll show you how to arrange printable ephemera into a layered Haunted Manor journal pocket. Follow this junk journal pocket tutorial to create a beautifully layered page insert.
The secret is to work from the largest pieces to the smallest. Varying the height, shape, and direction of each piece gives the pocket depth while keeping the design balanced.
This tutorial uses digital mockups to demonstrate the arrangement. Print, cut, and assemble the pieces from your own collection to create the finished paper project.
Supplies
- Printable pocket, tags, cards, and embellishments
- Matte presentation paper or lightweight cardstock
- Scissors or a paper trimmer
- Paper glue or double-sided tape
- Optional brown, gray, or black distress ink
- A blank junk-journal page
The pieces shown here are from the Haunted Manor Ephemera Pack by Love & Layers Designs. You can also mix in characters and decorative pieces from the coordinating Haunted Manor Fussy Cuts.
Step 1: Begin with the printable pocket
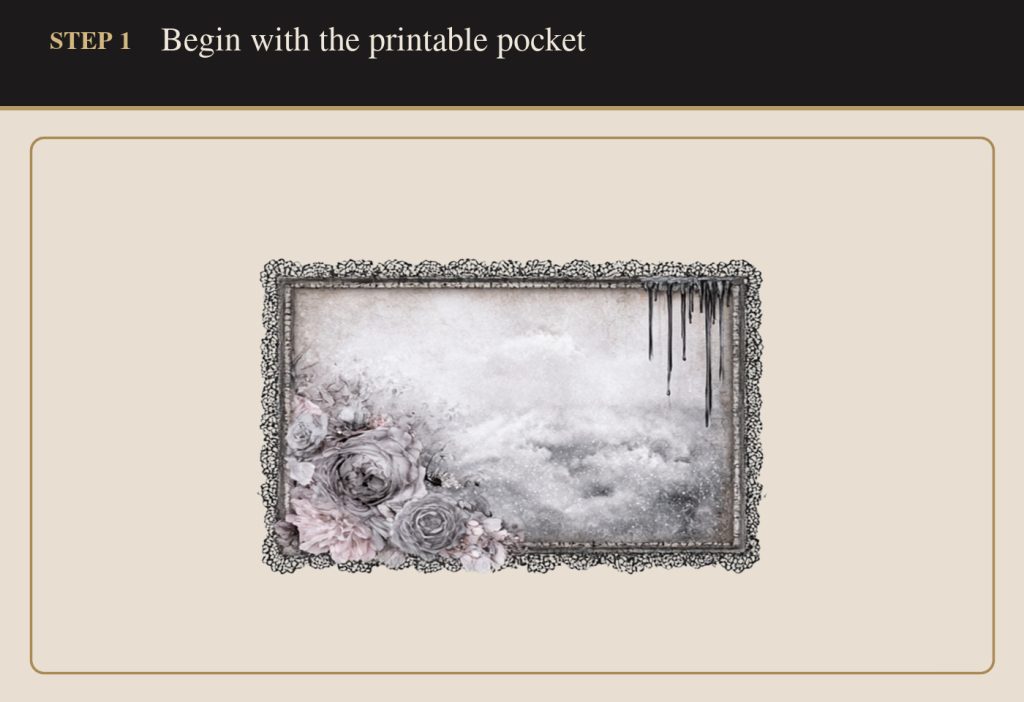
Print and cut out the pocket, then fold and glue it according to its construction lines. Attach only the sides and lower edge to your journal page so the top remains open. Before gluing, place your largest inserts behind the pocket to make sure they will remain visible.
Step 2: Build the tall background layers
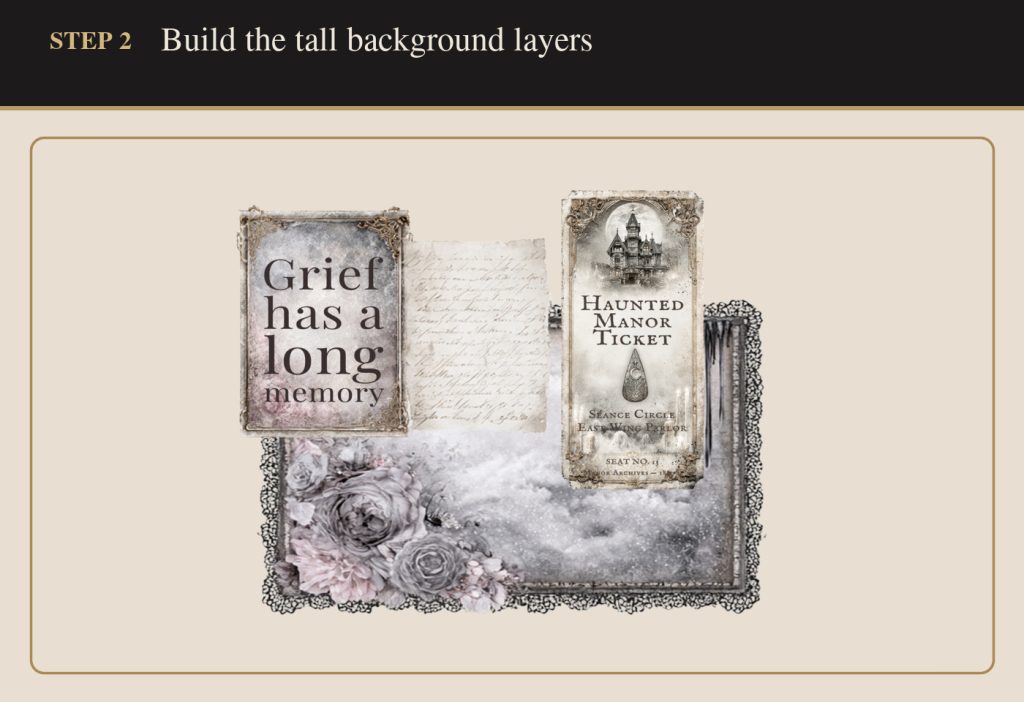
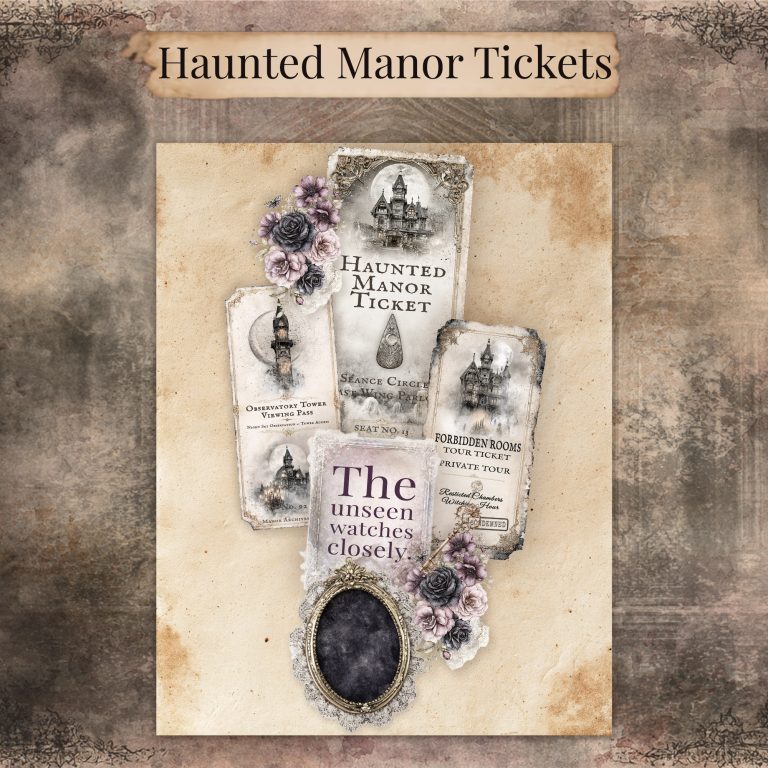
Start with the tallest pieces: the quote card, handwritten paper, and Haunted Manor ticket. Stagger their top edges rather than placing everything at the same height. Let each piece overlap the next slightly, but keep enough of its artwork or wording visible to invite a closer look.
Layering tip: Arrange everything without adhesive first. Take a quick photo when you like the placement, then remove the pieces and glue them down one at a time.
Step 3: Add a focal tag and varied heights
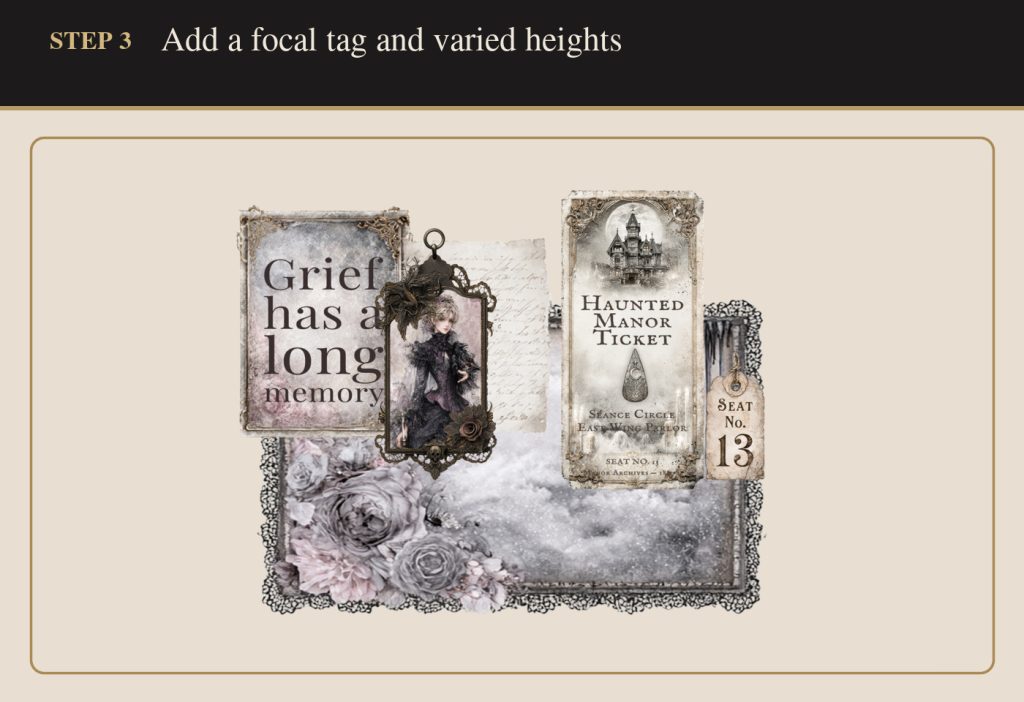
Add the Victorian lady where she can become the focal point without completely covering the taller pieces. The smaller Seat No. 13 tag introduces another shape and gives the eye a path through the arrangement. Combining tall, medium, and short pieces keeps the pocket from looking like a rigid row.
Step 4: Finish with small embellishments
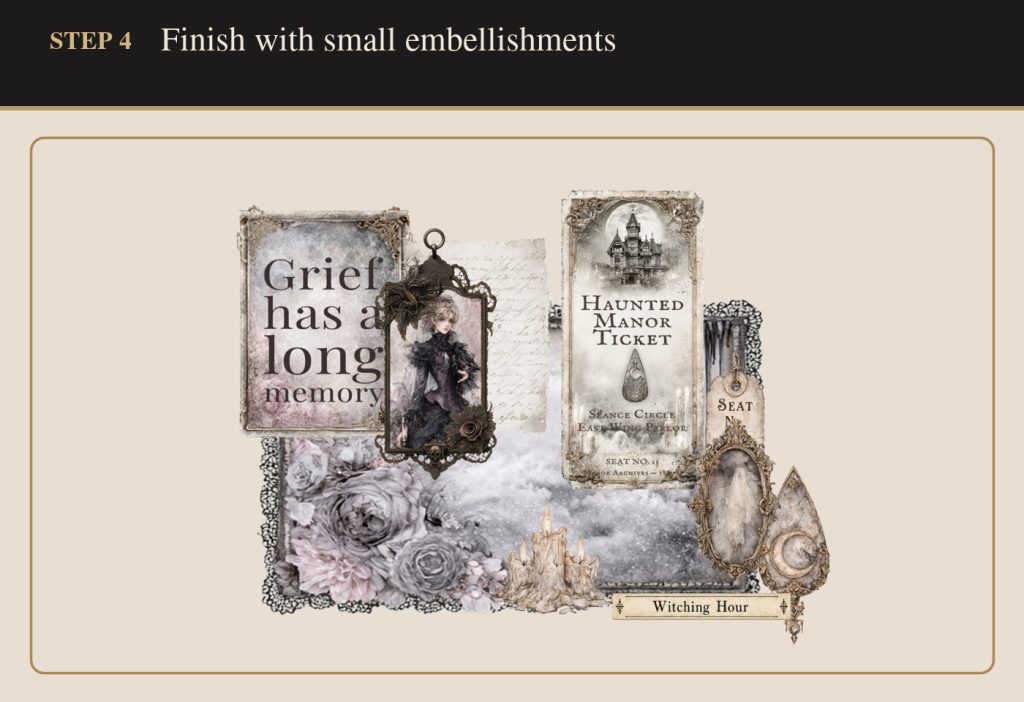
Finish the composition with a few smaller details. The candles help anchor the center, while the ornate mirror and planchette reinforce the mysterious Victorian theme. Place the Witching Hour label near the lower edge as a quiet finishing detail.
Small pieces are most effective when they support the focal point. You do not need to use every embellishment from the printable set. Leave a little open space so the individual layers can still be appreciated.
The finished Haunted Manor pocket
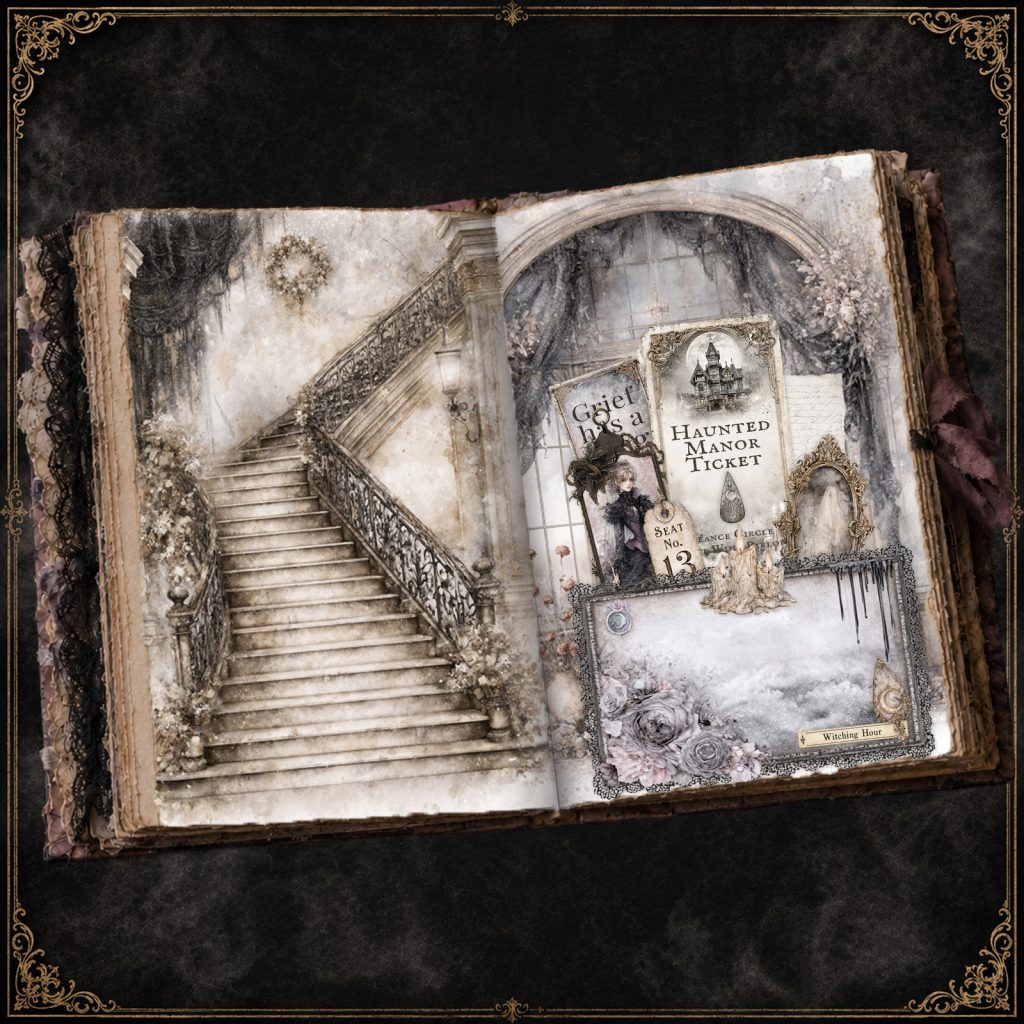
The completed pocket feels as though it holds fragments collected from an abandoned Victorian manor. Because the inserts are removable, they can also be used as journaling cards, bookmarks, or decorative pieces elsewhere in the journal.
Make your own Haunted Manor journal pocket
Ready to create your own layered page? Find the printable cards, tags, pocket, and embellishments in the Haunted Manor Ephemera Pack on Etsy.
For even more characters and decorative details, explore the coordinating Haunted Manor Fussy Cuts.
Building memories one layer at a time.